
For most U.S. bathrooms, the right vanity width falls somewhere in a well-established range: powder rooms and tight spaces work best with 18–24" units, single-sink full baths typically use 24–48", and double-sink primary baths call for 60–72" (with 84"+ available for larger custom layouts). Standard depth runs about 20–23" (21" is the most common stock size), with ultra-narrow 14–18" options for tight powder rooms. Height lands in two bands: traditional 30–32" and the more popular comfort height of 34½–36". The NKBA and IRC together set the floor for what fits safely and comfortably.
Quick size check by room type:
Pro Tip: Before you measure anything else, measure your finished wall width — wall to wall at the exact height where the vanity will sit, not at floor level where baseboard trim can throw off the number.
The single most important first step is confirming your finished wall width. Everything else, from plumbing offsets to door clearance, flows from that one number. The Kitchen, Bathroom & Flooring Store’s design team uses this same starting point on every site measure in Jacksonville, Saint Johns, and Duval counties.
Choosing the right vanity starts with one measurement: your finished wall width, taken after tile and trim, not before.
| Point | Details |
|---|---|
| Standard widths follow 6" increments | Stock lines run 18–84"; semi-custom fills odd widths like 54" when needed. |
| Depth and height have clear defaults | 21" depth and 34½–36" comfort height suit most full baths; 14–18" narrow options work for powder rooms. |
| Code vs. comfort clearances differ | IRC requires 15" toilet side and 21" front; NKBA recommends 18" side and 30" front for daily comfort. |
| Double sinks need 60–72" minimum | 60" meets IRC’s 30" centerline spacing; 72" hits NKBA’s 36" recommendation with real counter between sinks. |
| The Kitchen, Bathroom & Flooring Store | Full-service site measure, design, and installation in Jacksonville, Saint Johns, and Duval counties. |
Standard vanity widths follow 6" increments across most stock and semi-custom lines: 18, 24, 30, 36, 42, 48, 60, 66, 72, and 84 inches. Semi-custom shops can hit intermediate widths (21, 27, 33, 39, 45, 54"), but stock lines are limited, so plan accordingly if your space needs an odd width.
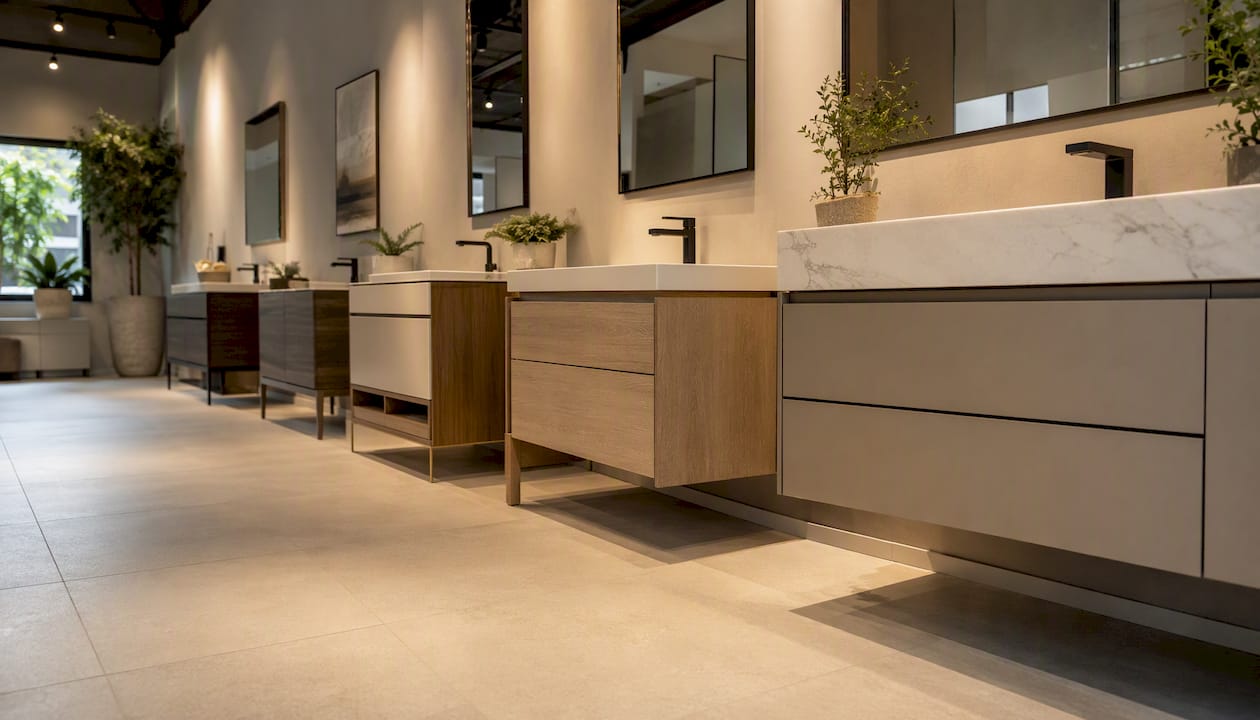
According to Angi, the most common single-sink widths in retail are 24, 30, 36, and 48 inches, while double-sink vanities most often land at 60 and 72 inches. Ultra-small models start as narrow as 12–18 inches for powder rooms where every inch counts.
| Width | Typical use | Sink config | Notes |
|---|---|---|---|
| 18–24" | Powder room, tiny full bath | Single | Narrow depth options (14–18") available |
| 30–36" | Full bath, single sink | Single | Most popular stock range |
| 42–48" | Larger single or tight double | Single (48" can fit double) | 48" double is tight; verify centerline |
| 60–66" | Primary bath double | Double | IRC minimum for two sinks at 30" CC |
| 72–84" | Spacious primary or custom | Double | NKBA-comfortable 36" CC spacing |
Standard depth: 21" is the most common cabinet depth. The 20–23" range covers most stock lines. An 18" depth works for narrow powder rooms but limits drawer space noticeably. A 24" depth gives a kitchen-cabinet feel and suits larger sinks.
Height bands:
One important distinction: cabinet height and rim height are not the same thing. If you install a vessel sink, the rim sits 4–6" above the cabinet top, so the cabinet itself is often reduced by the same amount to keep the finished rim in a comfortable range.
Pro Tip: Always add countertop overhang (typically 1–1½" beyond the cabinet edge) and any hardware projection to your finished width before comparing it to your wall measurement. The cabinet dimension on the spec sheet is not the finished dimension.
Getting the measurements right before you order saves you from a costly return or a plumber’s emergency visit. Measure to finished surfaces throughout — not to studs, rough framing, or unfinished drywall. Manufacturer spec sheets give you cabinet dimensions, but they cannot replace a site measurement to finished surfaces after tile and trim are installed.
Step-by-step measuring checklist:
Once you have those numbers, tape out the cabinet footprint on the finished floor. Stand in front of it, open an imaginary drawer, and walk past it. This one step catches door-swing and standing-space conflicts before you spend a dollar.
Also check:
Pro Tip: Check your door swing with the door fully open, not just ajar. A 30" vanity can conflict with a standard 28" door if the hinge side is close — and that conflict only shows up at full swing.
For a broader look at how fixture placement affects your overall layout, the guide on bathroom layout design walks through the full fixture-placement process.
Code sets the floor; the NKBA sets the comfort zone. Both matter, and they are not the same number.
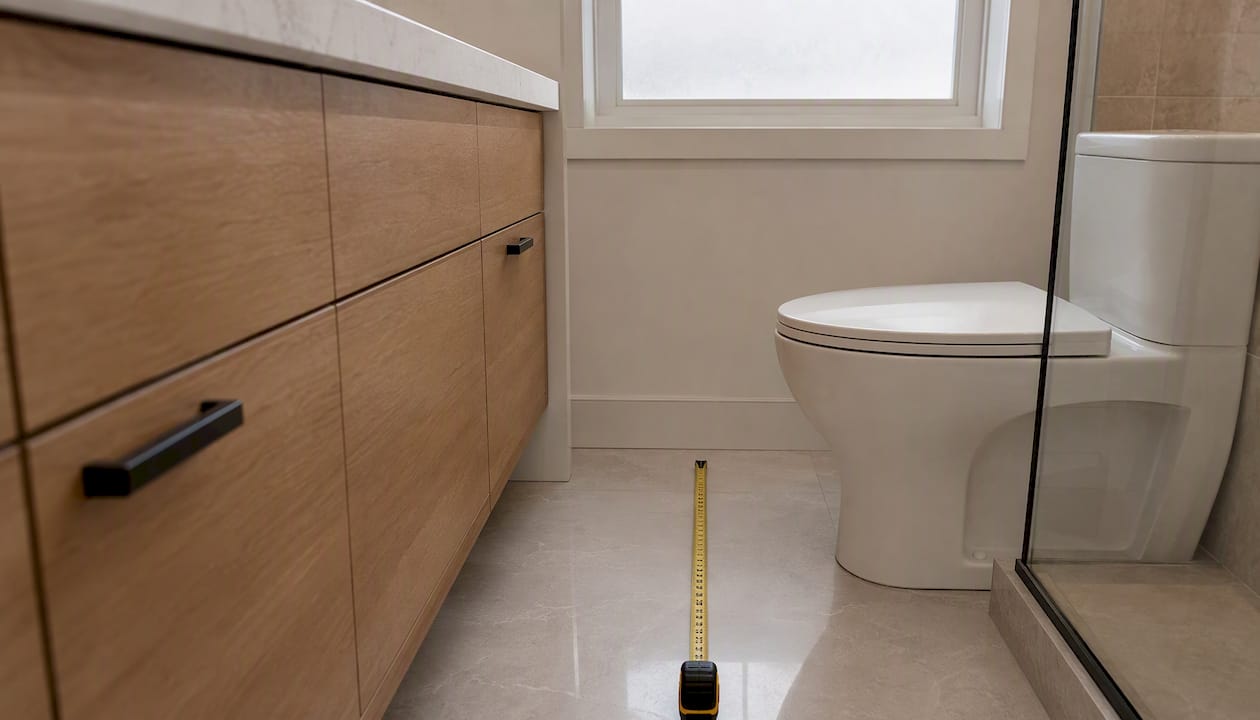
The IRC 2021 P2705.1 requires at least 15 inches from the toilet centerline to any side obstruction and at least 21 inches of clear space in front of the toilet, measured to finished surfaces. These are legal minimums. A bathroom that meets only these minimums will pass inspection but can feel cramped in daily use.
The NKBA recommends larger clearances for comfortable use: 18 inches of side clearance and 30 inches of clear space in front of a lavatory. For double-sink vanities, the IRC sets a minimum of 30 inches centerline to centerline between lavatories; the NKBA recommends 36 inches for comfortable simultaneous use. That gap explains why 60" double vanities are the IRC-minimum option and 72" units are the NKBA-comfortable choice.
Clearance diagrams from RemodelCalculators show both sets of numbers side by side, which makes it easy to see exactly where the code minimum ends and the comfort zone begins.
| Clearance point | IRC minimum | NKBA recommended |
|---|---|---|
| Toilet side (centerline to obstruction) | 15" | 18" |
| Toilet front (clear space) | 21" | 30" |
| Lavatory front clearance | 21" | 30" |
| Double-sink centerline spacing | 30" | 36" |
| ADA lavatory rim height | N/A (see ICC A117.1) | ≤34" AFF with knee clearance |
A few practical notes on this table: the 21" front clearance is the minimum a drawer can open without hitting the opposite wall or fixture. At 30", you can stand comfortably, open a drawer fully, and bend without bumping into anything. If your bathroom is tight, design to code minimum but know what you are giving up.
The decision between a single and double sink comes down to three things: how many people share the bathroom, how much counter space you need, and whether your room can meet the spacing rules.
A single-sink layout makes sense for most full baths used by one or two people, smaller budgets, and rooms where storage is the priority. A double sink earns its footprint in a shared primary bath where two people get ready simultaneously.
Width and what it gives you:
Pro Tip: Add 2–3 inches for countertop overhangs and edge profiles when planning a double-sink layout, and verify mirror and lighting placement for two-sink configurations. A single wide mirror works for 60"; two individual mirrors often look better at 72" and above. The guide on bathroom fixture coordination covers mirror and lighting sizing in detail.
The physical form of the vanity changes more than just looks. It directly affects how much usable depth you get, how much storage you have, and how large the bathroom feels.
Common vanity types and their depth implications:
For powder rooms, a 14–18" floating unit or an 18–20" narrow freestanding unit keeps the space open. For a primary bath where storage and larger sinks matter, a 24" deep cabinet gives noticeably more counter space and accommodates wider undermount bowls. Floating vanities need wall blocking planned during framing — retrofitting blocking into a finished wall adds cost and labor. For small-bathroom ideas that pair well with narrow vanity choices, the post on designing a small bathroom to feel larger has practical suggestions.
Most vanity sizing errors happen before the cabinet ships, not during installation. Catching them early saves money and time.
Mistakes to avoid:
Installation action items:
Pro Tip: Tape out the cabinet footprint on the finished floor and stand in front of it for a full minute. Open an imaginary drawer, reach for a faucet, and step to the side. If it feels tight in the mock-up, it will feel tight every morning.
Stock vanities work well when your bathroom dimensions align with standard 6" increments and your plumbing rough-in is centered where a stock cabinet expects it. When either of those conditions is off, a custom or semi-custom solution usually costs less in the long run than forcing a stock unit to fit.
Signs you need a custom vanity or professional help:
Questions to ask a professional remodeler:
A practical example: a bathroom with a 54" finished wall width and a plumbing rough-in offset 8" from center. A stock 48" unit leaves a 6" gap on one side and misaligns the drain. A semi-custom 54" cabinet built to the site measurement, with the drain hole positioned to the actual rough-in, solves both problems cleanly. A professional remodeler handles the site measure, orders the cabinet, coordinates the countertop template, and manages the plumber, so you have one point of contact instead of three. For more on how that single-contractor process works, the guide on working with a single contractor explains the workflow in detail.
The measurement error we see most often is not a wrong number. It is the right number taken at the wrong surface. A homeowner measures 36" wall to wall before tile goes in, orders a 36" vanity, and then discovers the finished tile wall reduced the opening to 34¾". The cabinet does not fit. The fix is either a return, a filler strip, or a plumber moving a supply line, none of which are cheap.
The second most common issue is the toilet centerline. Tile adds thickness to the floor and the wall, and that thickness moves the finished surface closer to the toilet. Always re-check the toilet centerline distance after finished tile and trim are installed, not before. That final check is what separates a clean installation from a code violation.
Getting the right vanity size is straightforward when you have someone measure the space, select the cabinet, coordinate the countertop, and manage the installation for you. That is exactly what we do at The Kitchen, Bathroom & Flooring Store for homeowners in Jacksonville, Saint Johns, and Duval counties.

We start with a site measure to finished surfaces, so the dimensions we use are the ones that actually matter. From there, you choose from our full selection of stock, semi-custom, and custom vanities in our showroom, with a designer alongside you to match width, depth, height, and finish to your bathroom. We coordinate countertop fabrication, plumbing, and installation under one roof, with financing options available to fit your budget. No juggling multiple contractors, no surprises on install day.
Ready to get the right size the first time? Browse our bathroom remodeling packages or visit our showroom to schedule a consultation and site measure.
These primary sources cover code minimums, professional planning guidelines, and free calculation tools you can use before you buy.