
The fastest way to design a small bathroom to feel larger is to combine four moves: hang an oversized mirror, add layered lighting, reveal the floor with a wall-hung vanity, and replace a shower curtain with frameless glass. Do those four things and the room reads bigger before you change a single tile.
Here is what to tackle first:
TL;DR: Start with the mirror and lighting today. Save the frameless glass, continuous tile, and wall-hung vanity for your next weekend project or remodel. Moving the soil pipe or switching to a pocket door is a contractor job.
One oversized mirror wider than the vanity and positioned near floor-to-ceiling doubles visual depth and reflects ambient light back into the room, creating what designers call a “glowing faux-window” effect. Multiple small mirrors break that reflection into fragments and lose the depth entirely.
Size it to match or exceed the vanity width. If your vanity is 36 inches wide, go 42–48 inches. Height matters too: a mirror that runs from just above the backsplash to within a few inches of the ceiling makes the wall feel taller. Position it opposite or adjacent to a window whenever possible so it bounces natural light across the room.
Finish choices that amplify the effect:
For lighting, vertical sconces flanking the mirror at face height outperform a single overhead bar because they eliminate facial shadows and distribute light evenly across the wall surface. Pair them with a backlit mirror for a soft glow that washes the wall behind the glass.
Pro Tip: If a full wall mirror is not an option, a recessed mirrored medicine cabinet that spans the visual width of the vanity gives you storage and the same reflective plane without the installation complexity.
Lighting consultants note that dark corners cause the brain to perceive a room as shrinking. Washing the walls with light from tilted recessed fixtures makes vertical boundaries recede, so the room reads as wider even when nothing structural has changed.
The goal with color schemes for small bathrooms is to eliminate visual borders. When walls, trim, and ceiling read as one continuous surface, the brain stops registering where one plane ends and another begins, and the room feels larger.
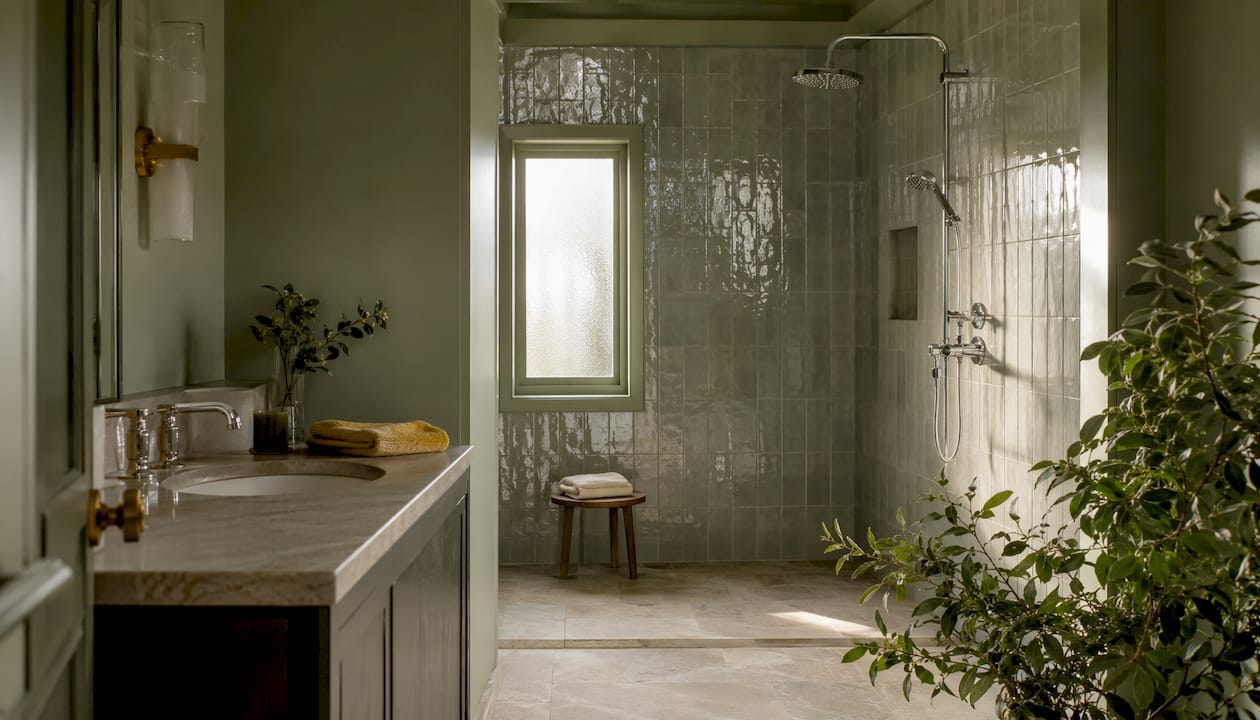
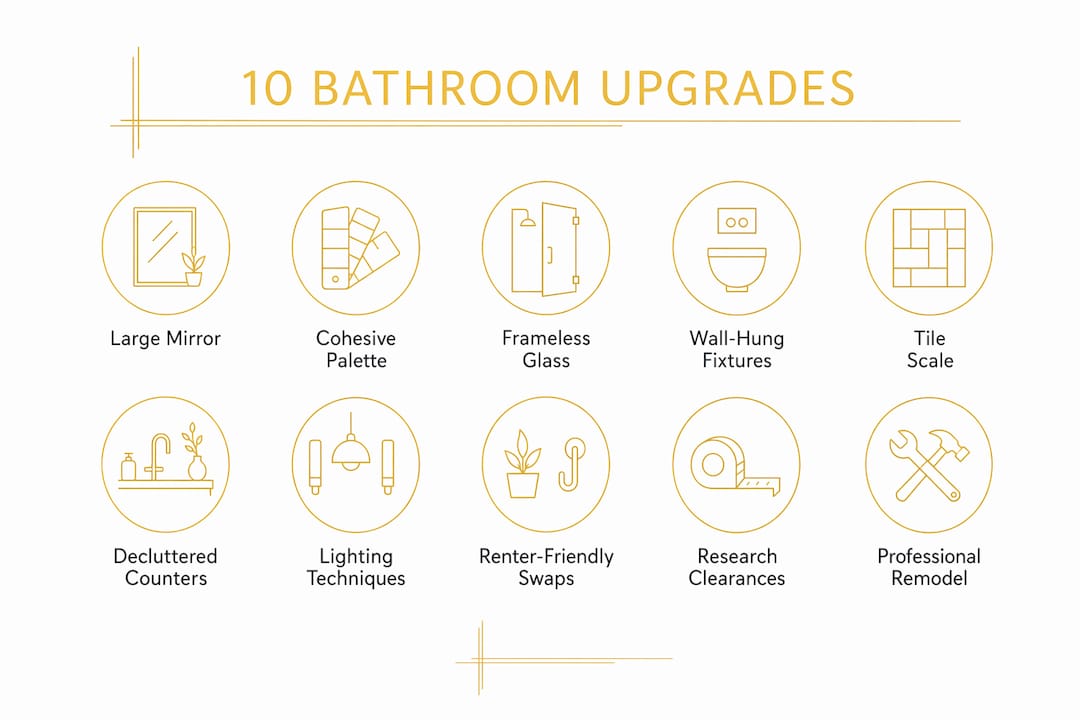
Use a light, warm neutral as your anchor: soft white, warm cream, or pale greige. Paint the ceiling the same color as the walls, or one shade lighter to push it upward visually. Avoid a bright white ceiling against a colored wall — that hard contrast draws the eye to the boundary and makes the ceiling feel lower.
Practical color rules:
Pro Tip: Run the same tile from the bathroom floor into the shower floor with matched grout. That single continuous plane removes the visual “step” that chops the room in two.
Glossy backsplash tile behind the vanity reflects light and adds depth. Matte tile on the floor keeps it from feeling slippery or overly shiny underfoot. The contrast between those two finishes is subtle but effective.
Clear frameless glass is the single biggest structural change you can make to open sightlines in a small bathroom. When the eye travels through the glass to the back wall of the shower, the room reads as one connected space rather than two cramped zones. A shower curtain, by contrast, creates a hard visual wall that cuts the room’s perceived width in half.
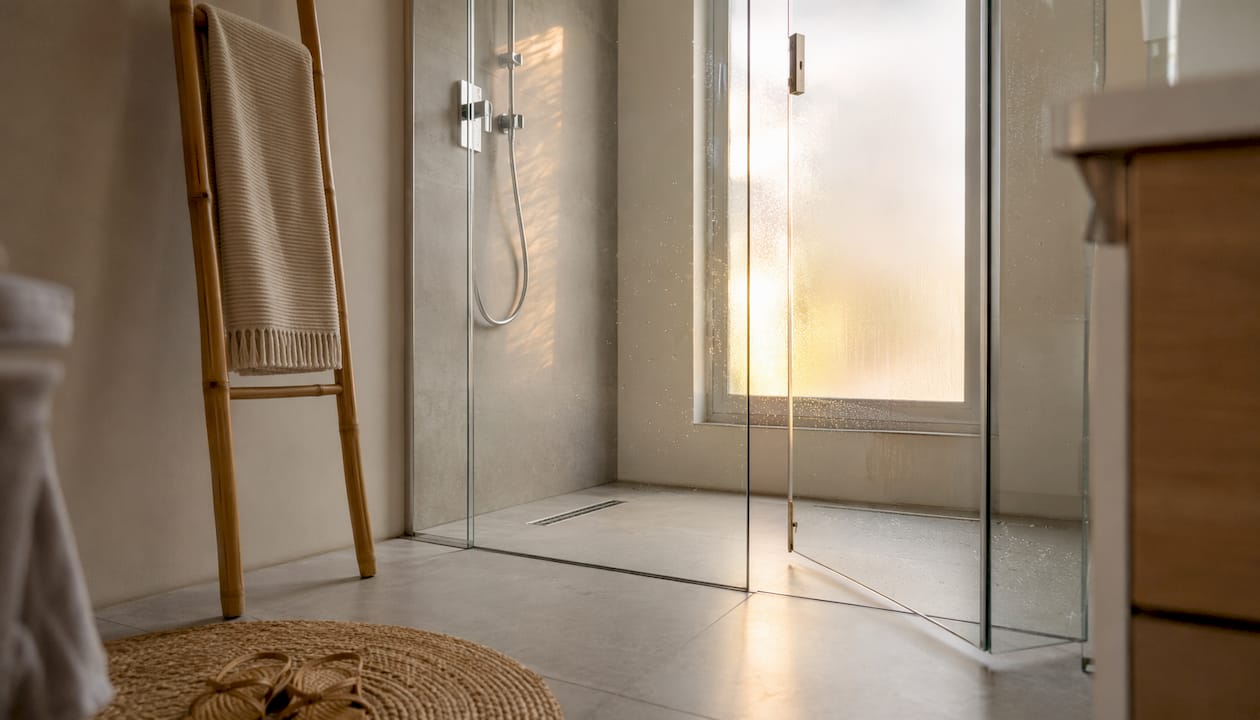
Combining continuous floor tile with a frameless glass screen erases the visual edge between the shower and the main bathroom floor, amplifying perceived space. Running the same tile through both zones with matched grout is the most effective floor-continuity move available.
| Option | Visual effect | Practical notes |
|---|---|---|
| Clear frameless glass | Best — sightlines fully open | Requires professional install; higher cost |
| Framed glass panel | Good — some visual interruption from frame | More affordable; DIY-friendly options exist |
| Frosted glass panel | Moderate — privacy preserved, depth reduced | Good for shared bathrooms |
| Shower curtain | Weakest — hard visual barrier | Renter-friendly; choose a clear liner to minimize impact |
| Curbless (wet room) entry | Best — no threshold break | Requires proper drain slope and waterproofing |
When a curtain is your only option: choose a clear or sheer liner and hang it as close to the ceiling as possible. A ceiling-mounted rod makes the ceiling feel taller and keeps the curtain from bunching at floor level.
A curbless entry requires a drain slope of at least 1/4 inch per foot toward the drain and a slip-rated floor tile. Large-format tiles cannot follow that gradient, which is why mosaic tile remains the standard for wet room shower floors. Plan the drain location before ordering tile.
Visible floor area is directly linked to perceived square footage. Even a few inches of exposed floor under a vanity changes how large the room feels. A wall-hung or legged vanity reveals that floor and immediately makes the room read as more open.
Fixture choices that maximize floor visibility:
Smart storage that stays off the floor:
Clearance callout: Architects recommend at least minimum distance from the toilet centerline to any side wall or fixture to any side wall or fixture, and ideally 21–30 inches of clear space in front of the toilet bowl. These numbers are the minimum for comfortable use and code compliance in most U.S. jurisdictions.
Pro Tip: Before purchasing a wall-hung vanity or in-wall cistern, knock on the wall to check for steel studs or a concrete block core. Wall-hung fixtures require solid blocking or a steel carrier frame — a standard drywall cavity will not support the load. Confirm with your contractor before ordering.
Fewer grout lines equal a larger perceived space. That is the core principle behind every tile-sizing decision in a small bathroom. Large-format tile reduces the visual grid that the brain reads as segmentation, so the floor and walls feel like one continuous surface rather than a mosaic of small pieces.
The 1/3 tile-sizing rule prevents large tiles from looking disproportionate: no tile side should exceed one-third of the room’s shortest dimension. In a bathroom that is 5 feet (60 inches) wide, tiles up to about 20 inches are proportional. A 12×24 porcelain tile fits comfortably within that rule and is the most widely recommended format for small U.S. bathroom floors.
Layout and orientation guidance:
Mosaic tile (typically 1×1 or 2×2 on mesh sheets) remains the right choice for shower floors because small tiles bend with the required drain slope that large flat tiles cannot follow. Use it there and nowhere else unless you have a specific design reason.
Pro Tip: Match grout color to the tile as closely as possible. A large-format tile in warm gray with a matching gray grout reads almost as a single plane. The same tile with white grout reads as a grid — and the grid is what makes the room feel smaller.
All the mirrors, glass, and tile work you put in can be undone by a cluttered counter and mismatched hardware. The finishing layer is about restraint: fewer objects, consistent metal finishes, and accessories that earn their place.
Practical hardware and accessory swaps:
Three-step counter declutter:
Renter-friendly upgrades that require no tools or landlord approval:
For bathroom window treatments that maximize natural light without sacrificing privacy, consider sheer roller shades or top-down/bottom-up blinds. These let daylight in from the upper half of the window while keeping the lower half screened.
Clearance, circulation, and lighting predict how comfortable a bathroom feels more reliably than raw square footage. A 45-square-foot bathroom with correct clearances and layered lighting feels more usable than a 60-square-foot room with a cramped toilet and a single overhead bulb.
Concrete clearances to measure before ordering fixtures:
Lighting techniques that expand perceived space:
Measurement callout: Map your finished room envelope before selecting any fixture. Record finished wall faces, soil pipe centerline and height, door swing arc, and tile build-up thickness. Skipping this step is the most common cause of ordering errors and installation surprises.
Pro Tip: The single most important pre-design measurement is the finished room envelope — the space left after drywall, tile, and any furring. Finished dimensions may be reduced compared to rough openings after accounting for tile and finish layers. That difference determines whether a 24-inch vanity fits with code-compliant clearances or not.
For a deeper look at how layout decisions affect the whole project, the bathroom layout design guide covers clearances, door swings, and wet-zone planning in detail.
Renters can achieve most of the visual gains in this guide without touching a single wall. The key is choosing changes that work with what is already there rather than fighting the existing layout.
Most effective renter-friendly moves, ranked by visual impact:
Installation hints:
Which tactics need landlord permission? Anything that requires drilling, patching, or painting. Everything on the list above is reversible without leaving a mark, which means you can do it this weekend without a conversation.
The most effective way to make a small bathroom feel larger is to combine a floor-to-ceiling mirror, layered lighting, visible floor area, and continuous tile — changes that work together to eliminate visual breaks and reflect light throughout the space.
| Point | Details |
|---|---|
| Mirror first | A single oversized mirror wider than the vanity creates a faux-window effect and doubles perceived depth. |
| Clearances before fixtures | Measure finished wall faces and confirm minimum clearances around toilet for comfortable use before ordering. |
| Continuous tile plane | Running large-format tile with matched grout from the floor into the shower removes the visual boundary that shrinks the room. |
| Frameless glass over curtains | Clear frameless glass keeps sightlines open; a shower curtain cuts perceived width in half. |
| The Kitchen, Bathroom & Flooring Store | Full-service bathroom remodeling packages coordinate tile selection, fixture planning, and professional installation from one place. |
Most small-bathroom advice starts with finishes: pick a light color, get a big mirror, use large tile. That is not wrong, but it puts the cart before the horse. Layout and clearances come first. A beautifully tiled bathroom where the toilet sits 10 inches from the wall, or where the door swings into the vanity, will never feel comfortable no matter how good the mirror looks.
The sequence that actually works: measure the finished room envelope first, confirm clearances, then plan the fixture layout, then choose tile and finishes. Finishes are the last decision, not the first. Homeowners who skip to finishes often end up with a gorgeous tile order that does not fit the space they actually have.
The other thing worth saying plainly: for renters, the mirror and lighting changes alone deliver about 70% of the visual gain at a fraction of the cost. You do not need a remodel to make a meaningful difference. A large leaned mirror, a clear shower liner, and adhesive sconce lighting can change how a bathroom reads in an afternoon. Save the frameless glass and continuous tile for when you own the space and can commit to the installation.
If you have worked through the quick wins and you are ready for the changes that require a contractor — frameless glass, wall-hung fixtures, continuous tile, or a full layout reconfiguration — The Kitchen, Bathroom & Flooring Store makes that process straightforward. Rather than coordinating a tile supplier, a plumber, and a separate installer yourself, you get measurement planning, product selection, and professional installation handled as one project.

The team covers the three steps that trip up most bathroom remodels: mapping the finished room envelope so fixtures fit correctly, selecting tile formats and finishes that work together, and installing everything to code. For Jacksonville homeowners and renters planning a renovation, the bathroom remodeling packages are designed to take the guesswork out of coordinating multiple trades. You can also browse tile and stone options or get details on shower and tub installation before booking a consultation. Reach out to schedule a free measure and design conversation — it is the right first step before ordering a single fixture.