
Most kitchens land on one of five standard backsplash heights: a 4-inch ledge, a 6-inch mid-height strip, a full 15 to 18 inch run that fills the countertop-to-cabinet gap, a 30-inch-plus panel behind the range, or full height to the ceiling. The single rule that decides which one fits your kitchen: let your cabinet layout, your appliance placement, and how much splash protection that spot actually needs make the call, then measure before you order tile. Below, we break down each height, walk through the math for ordering materials, and cover the installation details that separate a backsplash that lasts from one that cracks in a year.
TL;DR:
- Most kitchens should aim for a backsplash height between 15 to 18 inches to match typical cabinet and counter gaps, unless more protection is needed around range areas.
- A 4-inch ledge is suitable for low-splash zones like side counters but offers minimal protection against grease and moisture.
- Use at least 10 to 15% extra tile for straightforward patterns, and 15 to 20% for mosaic or complex layouts, to account for cuts and waste.
- Proper installation requires flat substrate surface, suitable adhesive, and flexible sealant at joints and change-of-plane areas to ensure longevity.
- Professional guidance based on cabinet layout and appliance placement helps optimize backsplash height, layout, and material costs for lasting results.
Picking a height gets easier once you know what each one is actually built for. Here’s how the five common options break down.
None of these heights is “correct” in isolation. A galley kitchen with low splash risk might do fine with a 4-inch ledge, while a home cook running a gas range needs the taller panel regardless of budget.
Instead of scrolling through inspiration photos, run through these five checks in order. They’ll get you to a defensible answer faster than aesthetics alone ever will.
If you’re still stuck between two heights, check how your kitchen’s cabinet layout was designed. Our guide on space planning for kitchens explains how upper cabinet placement drives most of these measurements in the first place, and it’s worth reading before you commit to tile.
Every backsplash mistake we’ve seen traces back to skipping this step. Measure each wall run separately, and treat the range wall as its own section since it’s almost always taller than the rest.
The formula is simple: width in inches × height in inches ÷ 144 = square feet. Round every measurement up to the nearest inch before you calculate, since rounding down is how people come up short on tile mid-project. Subtract only large openings, a full square foot or more, from your total. Smaller cutouts like outlets and switches don’t need subtracting because you’ll lose that tile to waste anyway.
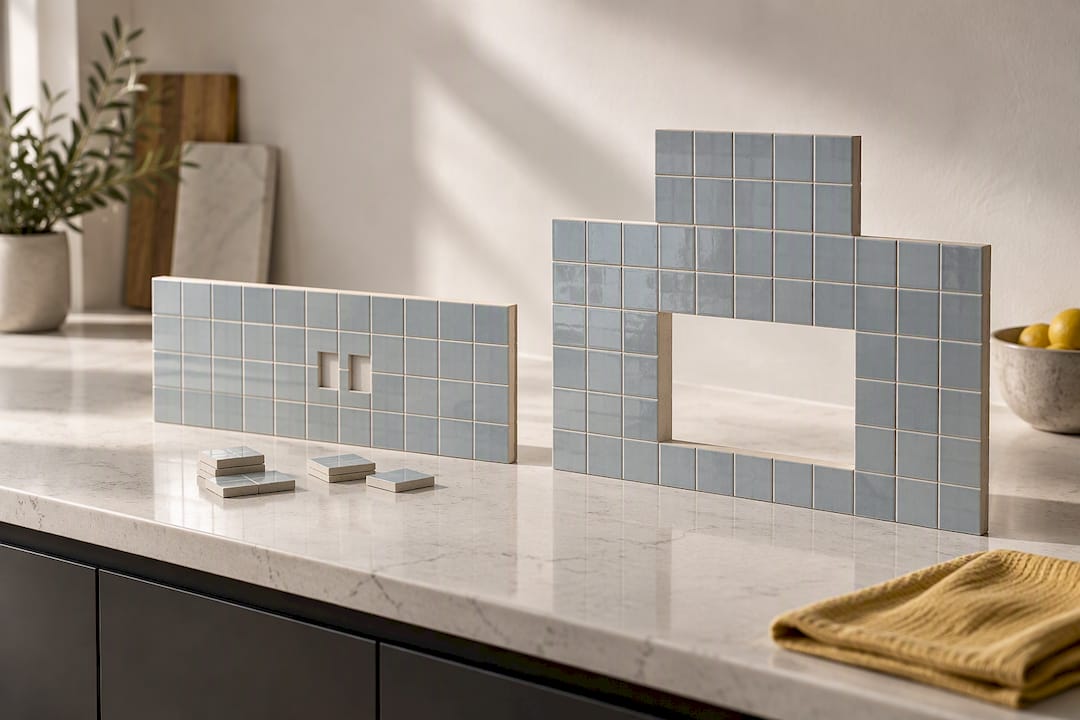
Waste percentage depends on your pattern. Straight-set subway tile typically needs 10 to 15% extra, while mosaics, herringbone, and other complex layouts need 15 to 20% because of the additional cuts. Always buy from one dye lot. Tile color can shift slightly between production runs, and a mismatched box halfway through a wall is impossible to hide.
Here’s what a typical mid-size job looks like in practice:
| Item | Typical Amount |
|---|---|
| Backsplash area (mid-size kitchen) | 15 to 18 sq ft |
| Example: 18 in tall × 20 ft wide run | 30 sq ft |
| Tile needed (3x6 in subway, 10 to 15% waste) | 33 to 37 tiles |
| Thinset and grout | One bag each, typically |
| Elapsed time (including cure) | 3 to 4 days |
Pro Tip: Order at least one extra full box beyond your calculated waste figure. Tile breaks during cutting more often than you’d expect, and reordering mid-project from a different dye lot is a headache you can avoid for the price of a few spare tiles.
If you’re deciding between tile lines, our kitchen backsplash tile selection covers the sizes and finishes that pair well with each height option.
The height you choose only matters if the installation holds up. A few details separate a backsplash that lasts a decade from one that needs redoing in two years.
Skilled tilers treat every wall run as its own layout puzzle, dry-fitting first and adjusting spacing before a single tile touches adhesive. That habit alone prevents most of the visible mistakes homeowners regret later.
A few small planning choices make the difference between a backsplash that looks intentional and one that looks like an afterthought.
We start every backsplash conversation with your cabinet layout and appliance placement, not a catalog of tile. That’s the only way to recommend a height that actually protects your walls without blowing your budget. Because some remodeling stores handle design, tile selection, and installation under one roof, you’re not stuck relaying measurements between three different contractors and hoping they agree. Visit our showroom, and we’ll walk your kitchen through this exact decision framework with you.
— Anna
If measuring wall runs and calculating waste percentages sounds like more time than you have, our Kitchen Remodeling Packages handle tile selection, layout planning, and professional installation as one coordinated project instead of a string of separate decisions.

That means no juggling a tile supplier, a separate installer, and a general contractor to make sure the height, pattern, and seams all line up correctly. Our packages include financing options and a warranty, so you’re covered if something needs attention after the job wraps. The same one-stop approach applies to bathrooms too, through our Bathroom Remodeling Packages, which cover backsplash and vanity tile work with the same design-to-installation process. Schedule a consultation with our team, and we’ll measure your space, recommend the right height for your layout, and give you a straightforward plan before any tile gets ordered.
For deeper reference, see ANSI A108/A118/A136.1:2024 for tile installation specs, Fine Homebuilding’s installation guide for layout sequencing, and SudoTool’s measuring guide for the square-footage formula.
Most kitchens use 15 to 18 inches for full coverage behind counters, matching the standard countertop-to-cabinet gap. Behind a range or cooktop, extend the tile to 30 inches or more for better grease and heat protection.
It’s not outdated, but it’s now considered a budget or accent option rather than the default. A 4-inch ledge still works well in low-splash zones like a bar counter, though most modern kitchens choose full coverage for the main workspace.
A 3-inch backsplash is acceptable for minimal splash protection, though it’s rare compared to the 4-inch standard. It offers less coverage and can look thinner or less finished than a slightly taller ledge in most kitchen layouts.
A full-height backsplash typically fills the entire 15 to 18 inch gap between the countertop and upper cabinets. Some homeowners extend that even further, running tile all the way to the ceiling for a bolder, more dramatic look.
Measure each wall section’s width and height in inches, multiply them, and divide by 144 to get square feet. Add 10 to 15% extra for standard tile or 15 to 20% for mosaics and complex patterns to cover cuts and waste.