
Crown molding on kitchen cabinets is still a smart choice for most traditional, transitional and Shaker-style kitchens. It hides the uneven gap between the cabinet tops and the ceiling and makes the cabinets look built into the room. It is the wrong choice for flat-front, European-style cabinets, where it fights the clean lines. Below we walk through how to decide, which profile and material to pick, how to size it, and what installation involves.
No. Designers quoted by Livingetc do not consider cabinet crown molding outdated. They see it as an enduring element that can be adapted to traditional, transitional and even modern kitchens. Interior designer Kristen Harrison, in the same piece, calls cabinet molding a timeless detail that adds polish and character and is unlikely to go out of style.
What does go out of style is heavy, fussy molding stacked on cabinets that do not suit it. A slim, well-proportioned profile in the same finish as the cabinets reads as current. A thick, ornate build-up on plain slab doors reads as dated almost immediately.
There are three practical jobs:
Another benefit is less obvious: a closed top means no open shelf of dust above the cabinets, and nothing to stage or clean up there.
Experts typically advise against cabinet crown on modern, flat-front, European-style cabinets, because it conflicts with the clean, minimalist look those cabinets are chosen for. If your doors are slab or very slim, finish the top with a plain flush panel, a simple trim strip, or run the cabinets to the ceiling.
A few other situations call for a second look:
Not sure which side of the line your kitchen falls on? Our guide to choosing cabinet door styles is a good starting point, since the door style should drive the molding decision, not the other way around.
The profile is the shape of the molding when you look at its cut end. A 2026 cabinet guide identifies four common cabinet-crown profiles, with dentil, decorative and flexible crown as additional options. Here is how they match common kitchens, following that pairing:
| Profile | Look | Best with |
|---|---|---|
| Cove | Simple concave curve, understated | Shaker and transitional cabinets |
| Flat (Shaker) | Straight, squared lines | Shaker, transitional, simpler modern-leaning kitchens |
| Traditional ogee | S-shaped curve, classic | Raised-panel and traditional kitchens |
| Stacked crown | Several pieces layered for a deeper build-up | Tall ceilings or large gaps above cabinets |
| Dentil or decorative | Small repeating blocks or carved detail | Formal, traditional kitchens |
| Flexible | Bends around curves | Curved or arched cabinet runs |
The Moulding options range from simple flat and cove shapes to ornate dentil and stacked build-ups, and the guidance is consistent: pick by your kitchen’s style, your finish (paint or stain) and moisture exposure.
A frieze board is a flat board mounted along the top of the cabinets that the crown sits on. Fine Homebuilding contributor Gary Striegler notes that ceiling height, cabinet height, style and finishes all shape the final design, and that a frieze board can support the crown and help tie cabinet trim to the room’s own crown.
The Family Handyman guide to crown molding types lists solid wood, polyurethane, PVC, MDF, polystyrene, flexible molding and plaster. It suggests weighing installation location, architectural style, paint or stain plans, DIY difficulty and budget. For kitchen cabinets, these are the realistic choices:
In Jacksonville, where summers are humid and kitchens often open onto patios and lanais, we steer homeowners toward materials that handle moisture swings when the molding sits near a range hood, a sink window or an exterior door. If your cabinets are stained wood, stained wood molding keeps the match. If they are painted, painted MDF or PVC is the practical choice.
Material choices on the cabinet boxes and doors matter just as much. Our piece on which cabinetry materials hold up in a real kitchen covers that side.
Match the cabinet finish so the molding looks like part of the cabinet, not an add-on. If you paint, the Family Handyman’s paint guide says satin suits woodwork such as trim and cabinets, is washable, and stands out against an eggshell wall. That contrast is useful when you want the molding to read as a defined edge. If your doors are matte, our article on matte cabinet finishes and their trade-offs explains how to keep the sheen consistent.
People often ask about the “1/3 rule” here. It is a general design idea about proportion, and no single rule fixes the molding size. What we can offer is room-scale guidance. Realtor.com, quoting a real-estate agent, gives starting points for ceiling crown of 3 to 5 inches for an 8-foot ceiling, 4 to 7 inches for a 9-foot ceiling, and 7 to 12 inches for ceilings of 10 feet or higher, with layered molding for taller installations.
Those figures describe ceiling crown, not cabinet crown. Cabinet crown is usually smaller, because it has to sit within the gap above the cabinets. Use them as a ceiling for scale, then work from your measurements:
A 9-foot ceiling with 36-inch upper cabinets typically leaves room for a modest crown, a riser, or both. A tall-ceiling kitchen with a large gap is where stacked crown earns its place. If you are rethinking the whole wall, our guide on storage in kitchen remodels shows how taller uppers can add usable space instead of leaving a gap.
Yes, you can install it yourself if you are comfortable with a miter saw, but it takes precise measuring and cutting, and a practice run on scrap pieces is smart before you cut the real molding. Here is the process, in the order a professional would work.
Older Jacksonville homes, and plenty of newer ones, have ceilings that are not straight. Fine Homebuilding explains that crown can be scribed, bent or caulked if it is paint grade. That is another argument for paint-grade molding when the ceiling line is uneven, because stain-grade wood does not forgive gaps.

DIY makes sense for a single straight run with a clean ceiling. Hire a professional when:
One wrong miter on a long piece of molding wastes the whole length, and the cost of mistakes adds up quickly.
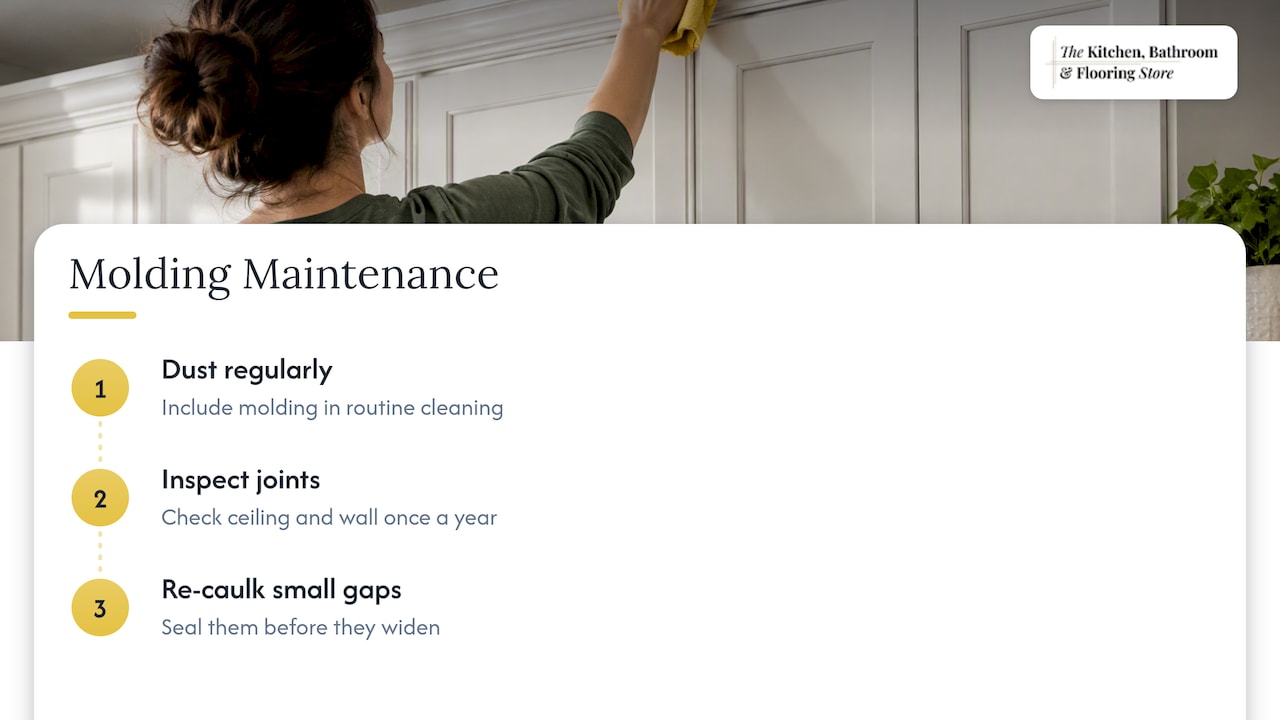
Dust the molding as part of regular cleaning, since it catches more than you expect. Check once a year for hairline gaps where the molding meets the ceiling or wall, and re-caulk small gaps before they widen. In Florida’s seasonal humidity, caulk lines are the first place movement shows up.
We see crown molding as part of the cabinet order, not a decoration added at the end. The best results come when the door style, the molding profile, the finish and the ceiling height are decided together, in the showroom, with samples on the table. That is also why we handle design, product selection and installation under one roof: the person who helps you choose the profile is part of the same project as the person who installs it, so the gap, the scribe and the paint match are planned before anyone picks up a saw.
Our honest advice: choose the simplest profile your door style can carry. If you are in doubt between two, take the smaller one. A clean, well-fitted cove on a Shaker cabinet beats an elaborate build-up that is slightly off at every corner. And if your cabinets are flat-front, say so early, because we will often recommend no crown at all.
— Anna
If you are replacing cabinets, the molding decision belongs in the same conversation as door style, finish and layout. Browse our kitchen cabinets to see styles that pair naturally with crown, or look at our kitchen remodeling packages if you want design help, product selection and installation handled by one team across Jacksonville, St. Johns and Duval counties. We also offer financing options through monthly payment plans, so you can plan the project around your budget.
No. Designers still treat it as a classic that suits traditional, transitional and even some modern kitchens. What looks dated is an oversized or ornate profile on cabinets that do not suit it. Keep it proportionate and matched to the door.
Avoid it on modern, flat-front, European-style cabinets, where it clashes with the minimalist look. Also be careful in low-ceiling rooms, where large molding makes the space feel smaller. In those cases, a flat trim strip or no molding is usually cleaner.
Yes, if you are comfortable with a miter saw and precise measuring. Practice on scrap first, and build a base or frieze board before attaching the crown. For wavy ceilings, multiple corners or stained wood, a professional installer will save you waste and frustration.
Usually yes. Matching the cabinet finish makes the molding look built in. Painted kitchens often use a satin finish on trim, which is washable and defines the edge against the wall.
MDF is the economical choice for painted interiors, solid wood suits stained finishes, and PVC or polyurethane handle moisture better. Choose by finish and by how much humidity the area sees.